Thanks for the tips NHM.
I used a heat gun on the inside of the dome for a few minutes at the lowest temperature setting (250 F) from a distance. Because of the distance, the air hitting the dome probably wasn't more than about 130 F. After putting in the freezer it does hold its shape, but it does start to return back to its memory shape as it warms up without the rubber bands / clamps in place. I probably should have maintained the heat on the dome longer or slightly hotter, but I don't want to risk melting it. So I'll keep those rubber bands/clamps on when applying apoxy-sculpt. I may buy some black dye available for apoxy-sculpt before applying it inside the dome, and likely paint the mask and the dome with spray paint that is vinyl-compatible (though gunmetal might be tough to find).
For the mask, I only used instamorph with available black dye pellets mixed in. Similar to how I used this on my DPDLX mount, I was trying to find specific points where it could be used to hold the desired reshape. It stays in place less due to its slightly adhesive properties against vinyl and more from placing it so that it creates a mechanical brace. This is easy to add to separate two surfaces. But where you need a "pull" against a surface you need a complementary "push". There are lots of nooks and crannies where this can be done inside the mask, but it would be difficult to do on the dome unless I placed it all the way around the inside of the it. Instamorph that's spread about 1mm thick is flexible, but exponentially becomes quite solid as you increase thickness. 3-5 mm thickness is very solid and holds that shape really well against opposing pressure.
I applied instamorph inside the mask at several places to narrow it. I first added it to the sides, but that wasn't sufficient to narrow the bottom of the neck. If I pulled back on the top of the mask, it would narrow the neck, but that also wasn't sufficient. Finally, adding a thick strip near the base of the neck, braced at the return edge and inside the back of the hollows of the tubes. I applied that strip slightly hotter than usual (about 160 F) to make it stick better all along the extent of it.
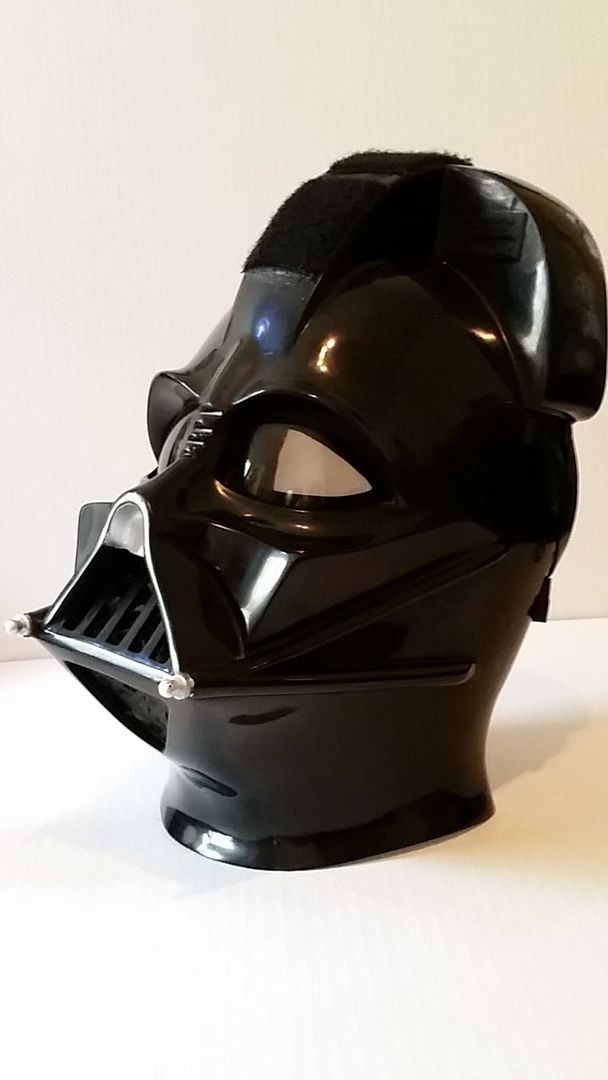
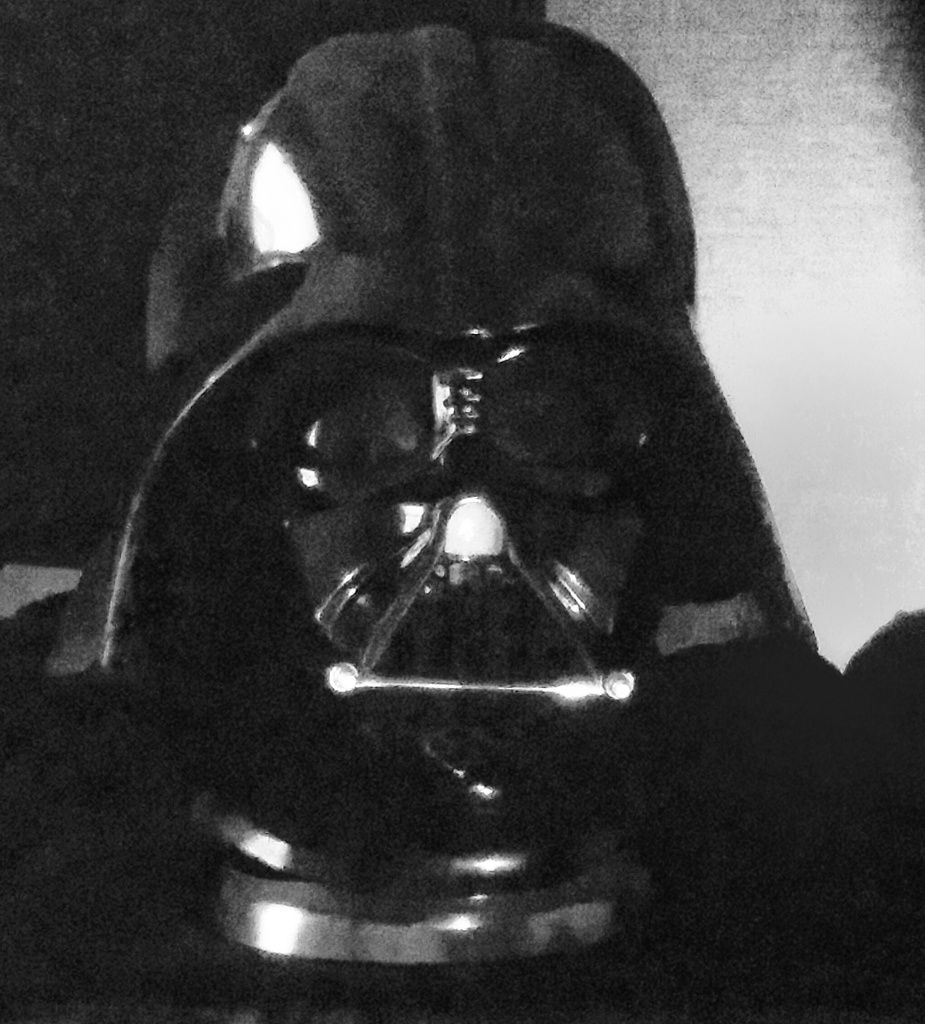
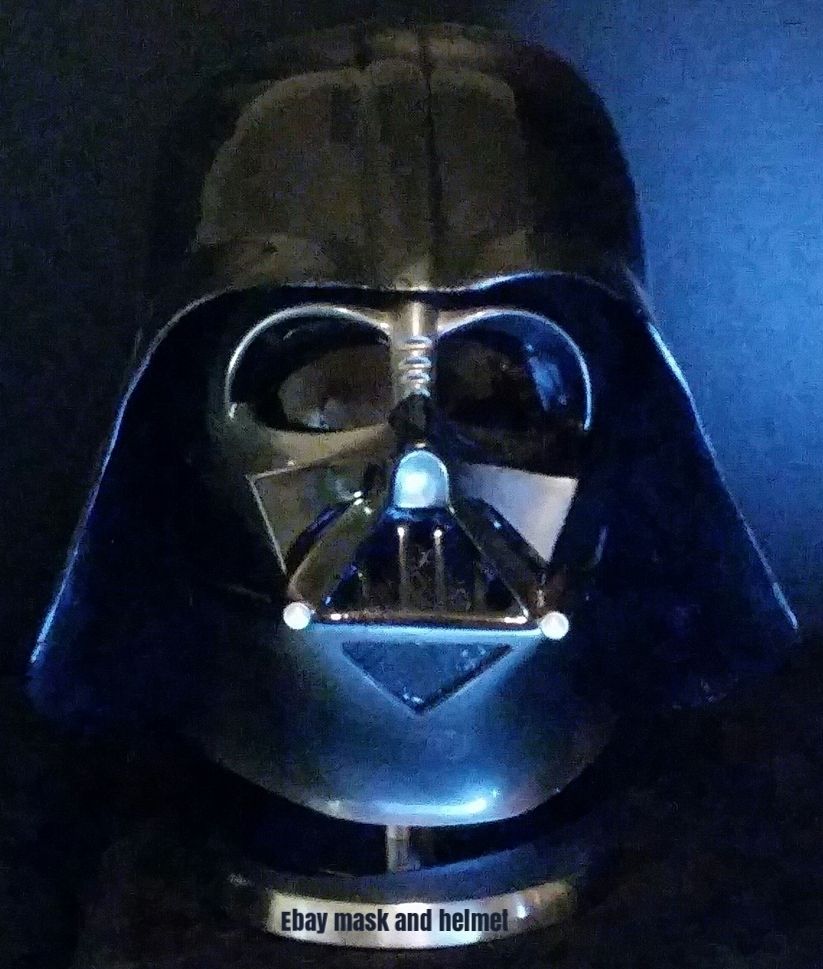
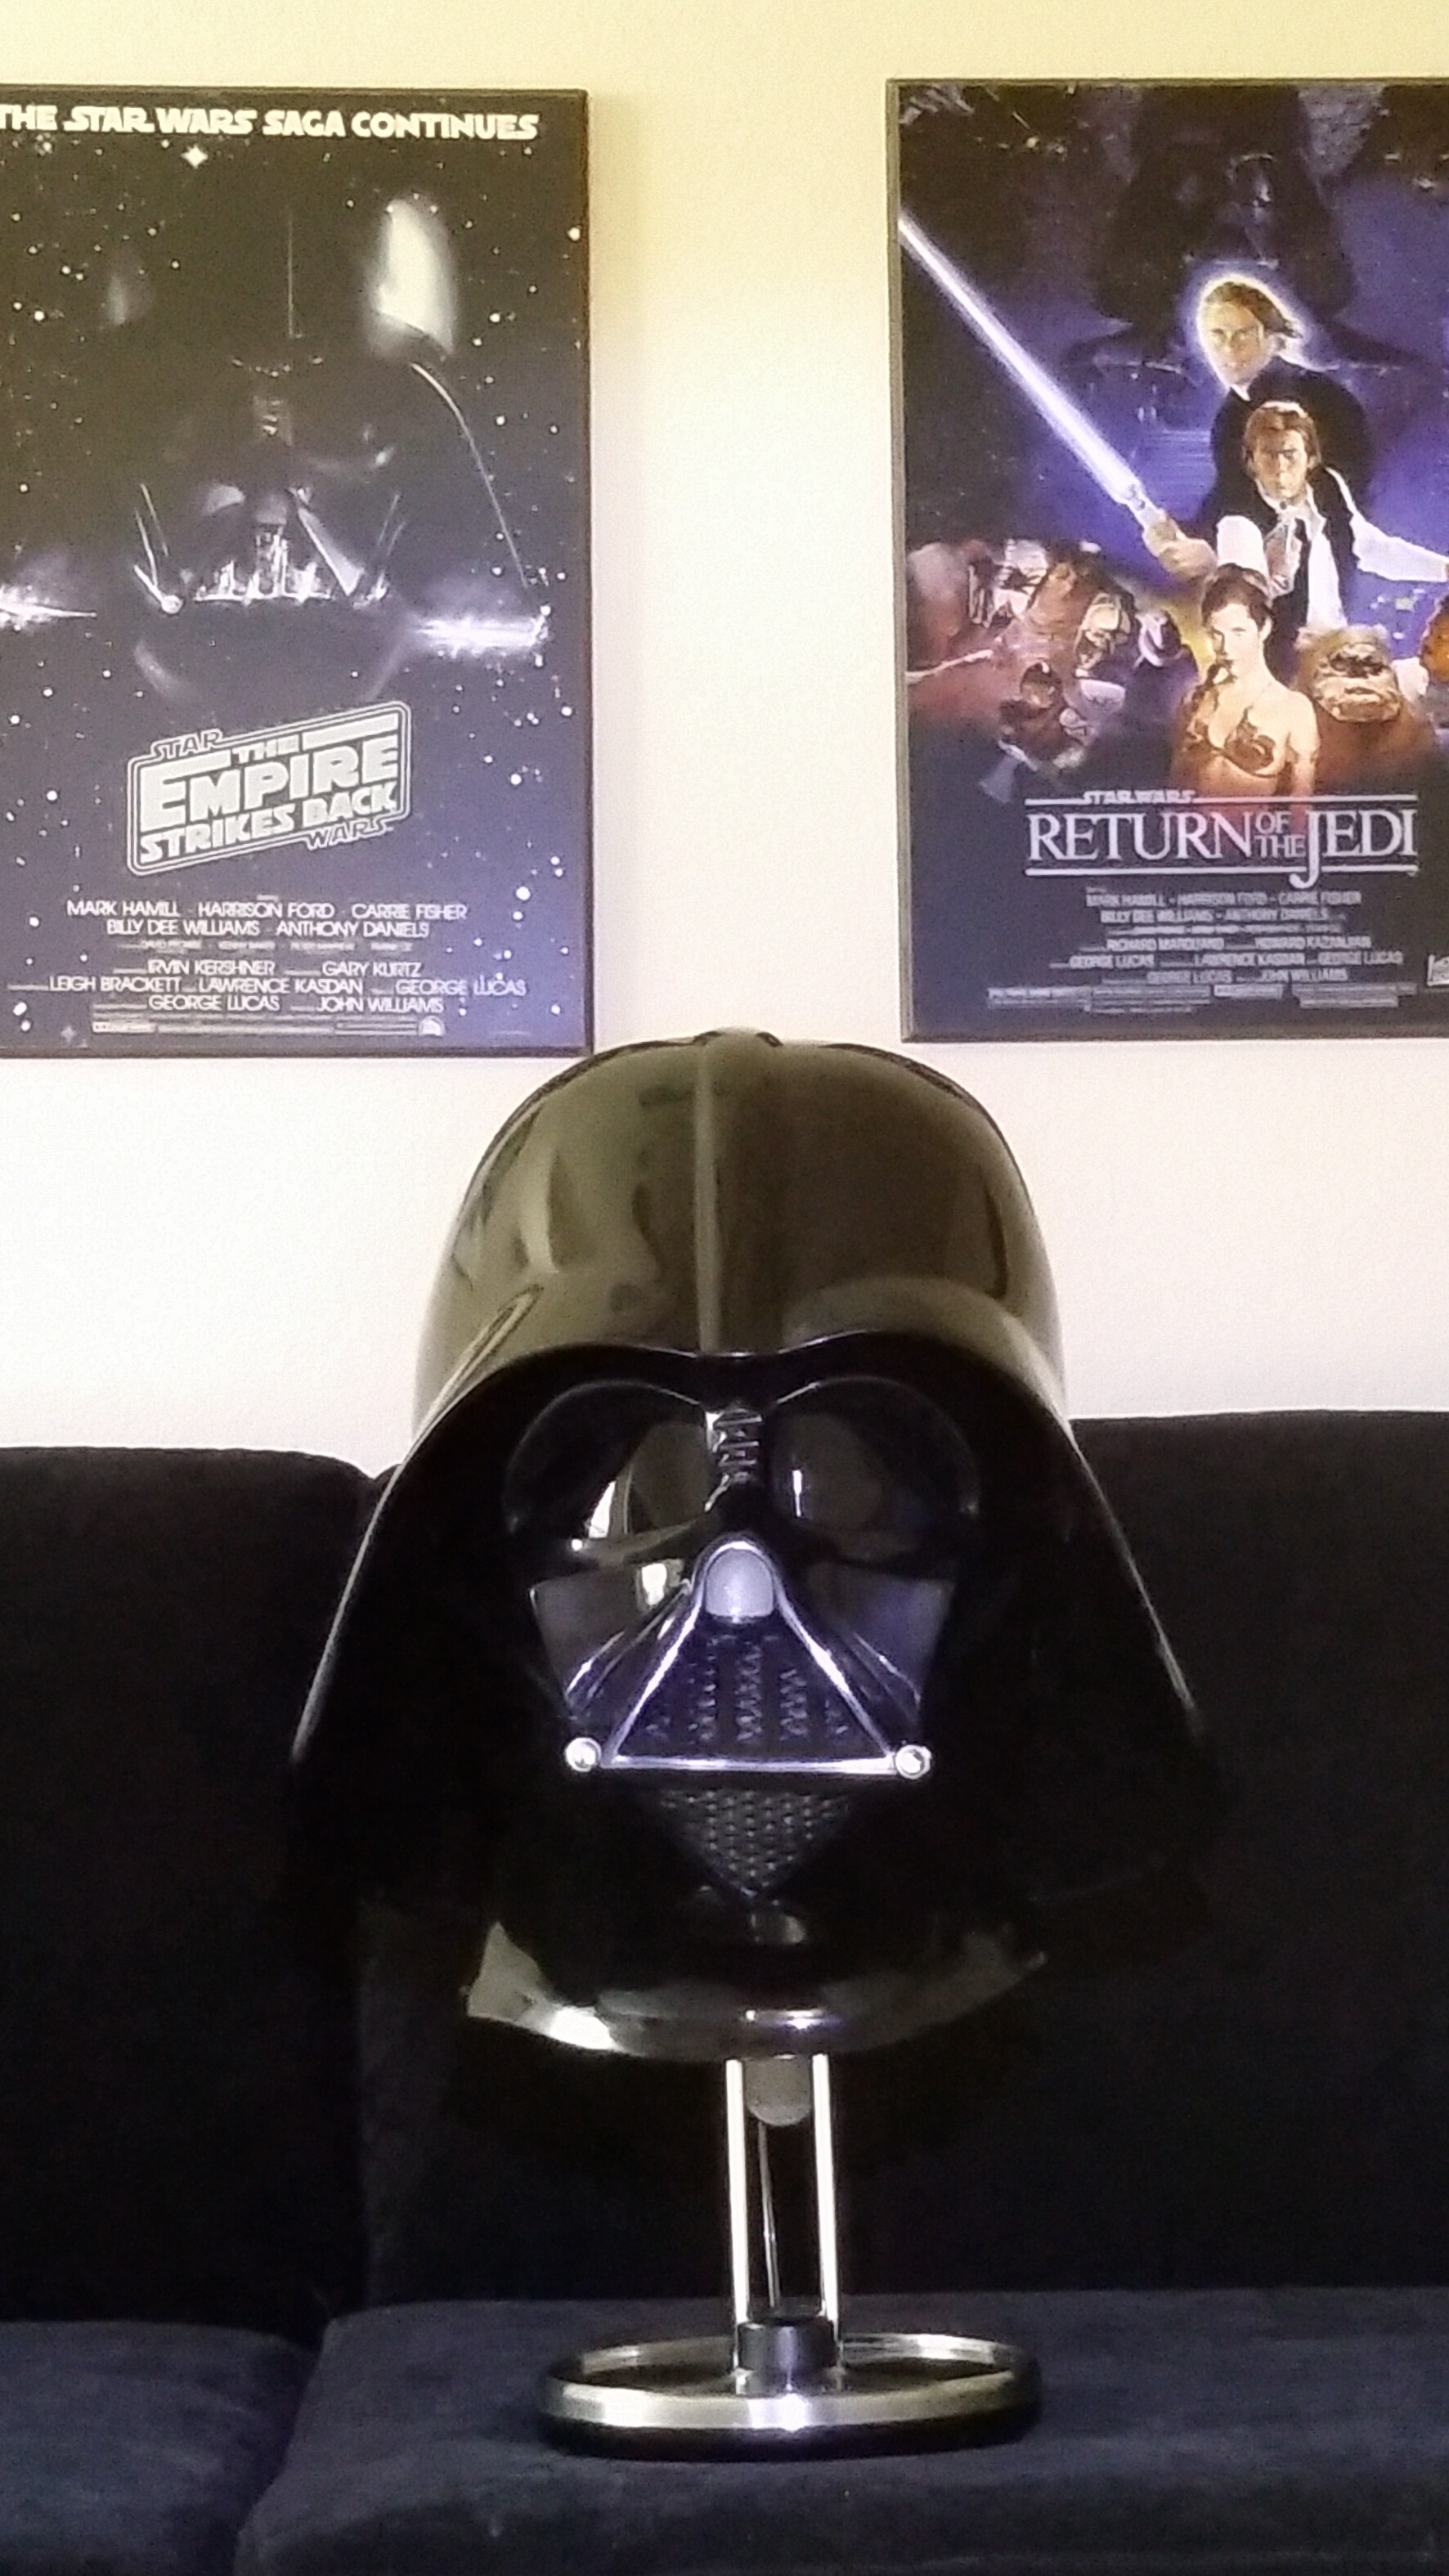
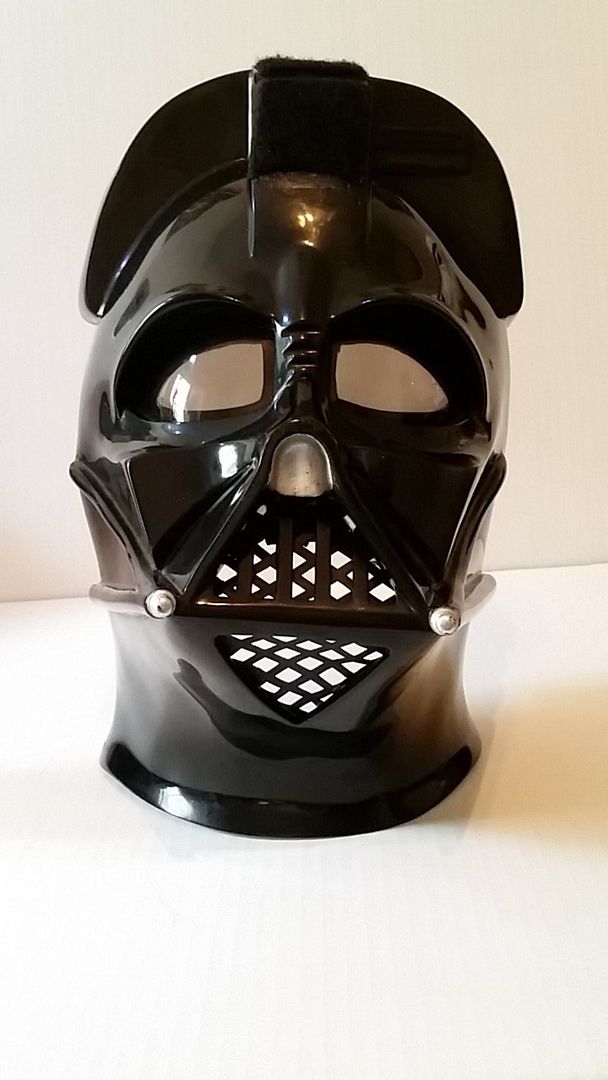
I'm pleased with how the mask looks now, and it's holding in place fine after a week:
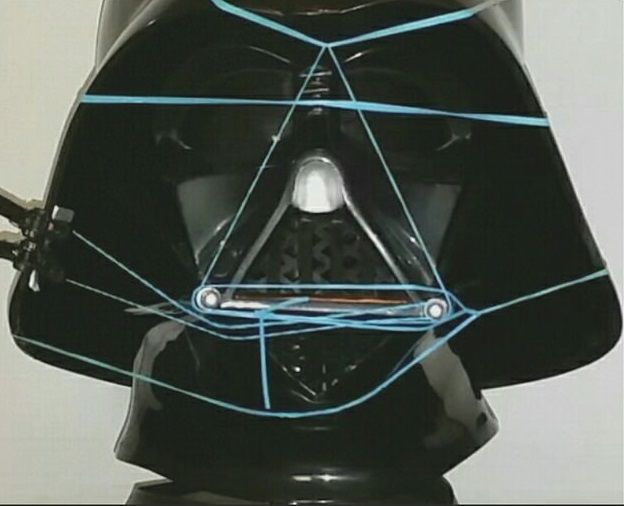
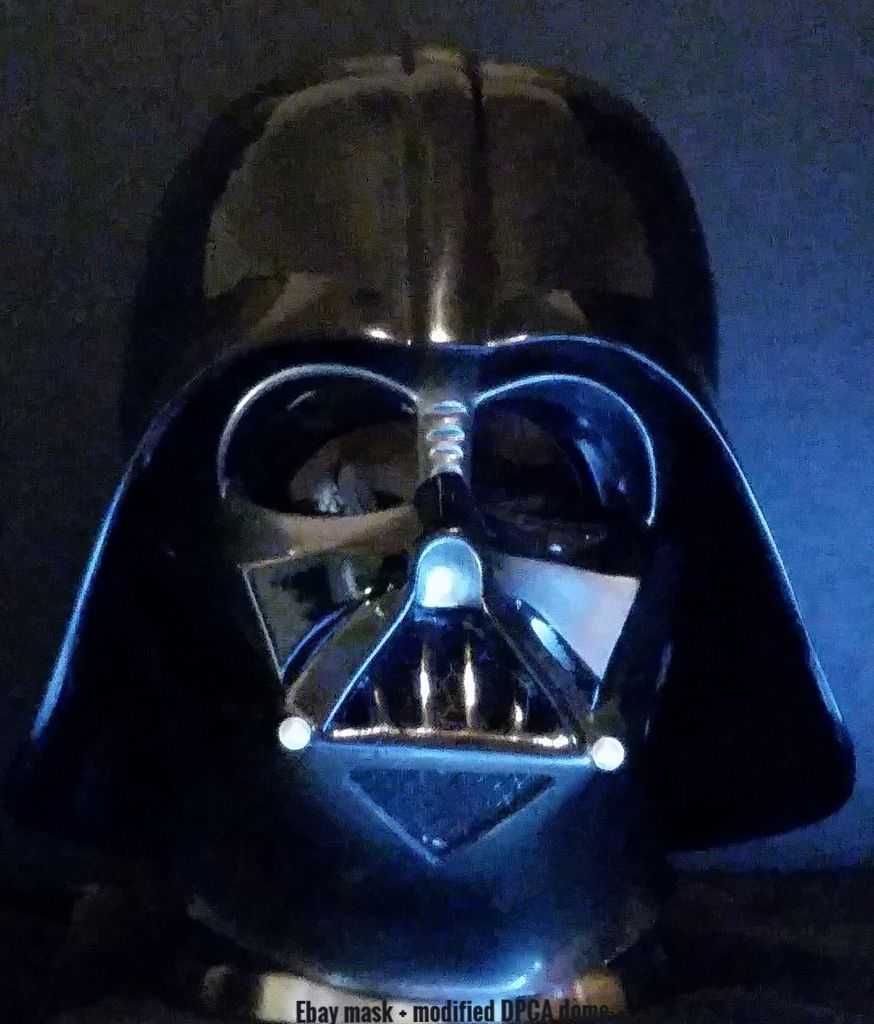
DPCA mask with instamorph applied where circled in red:

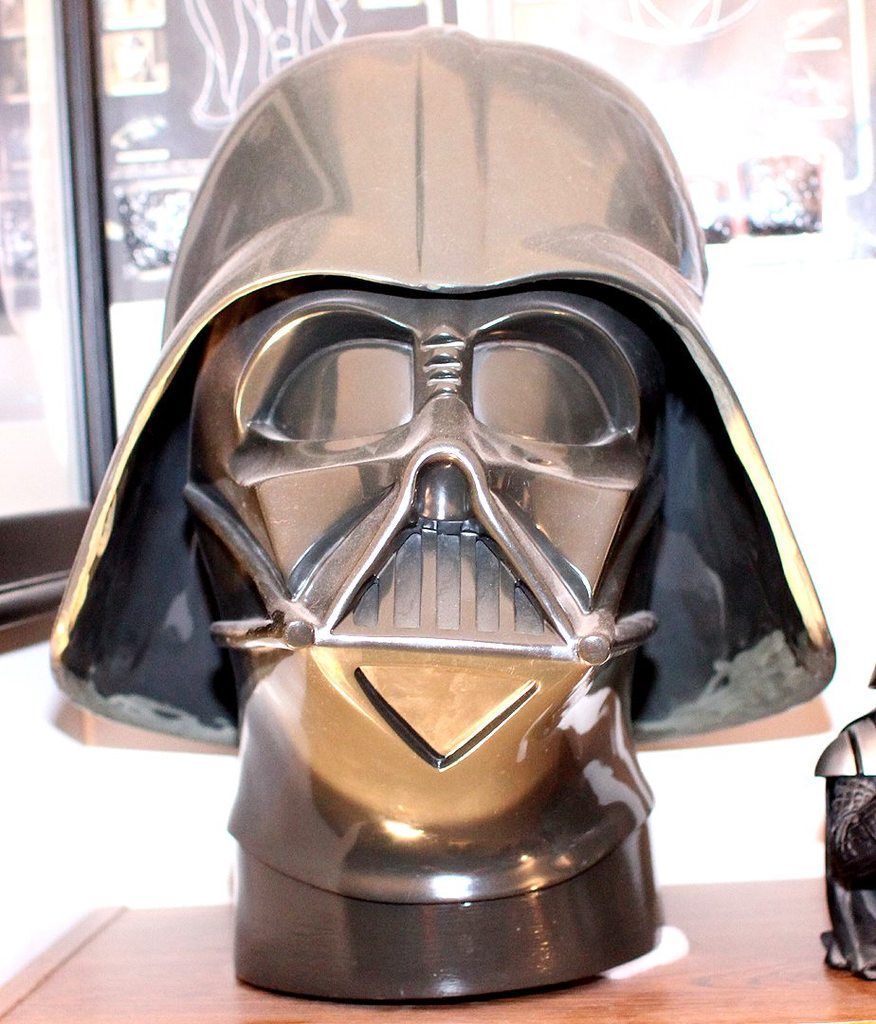
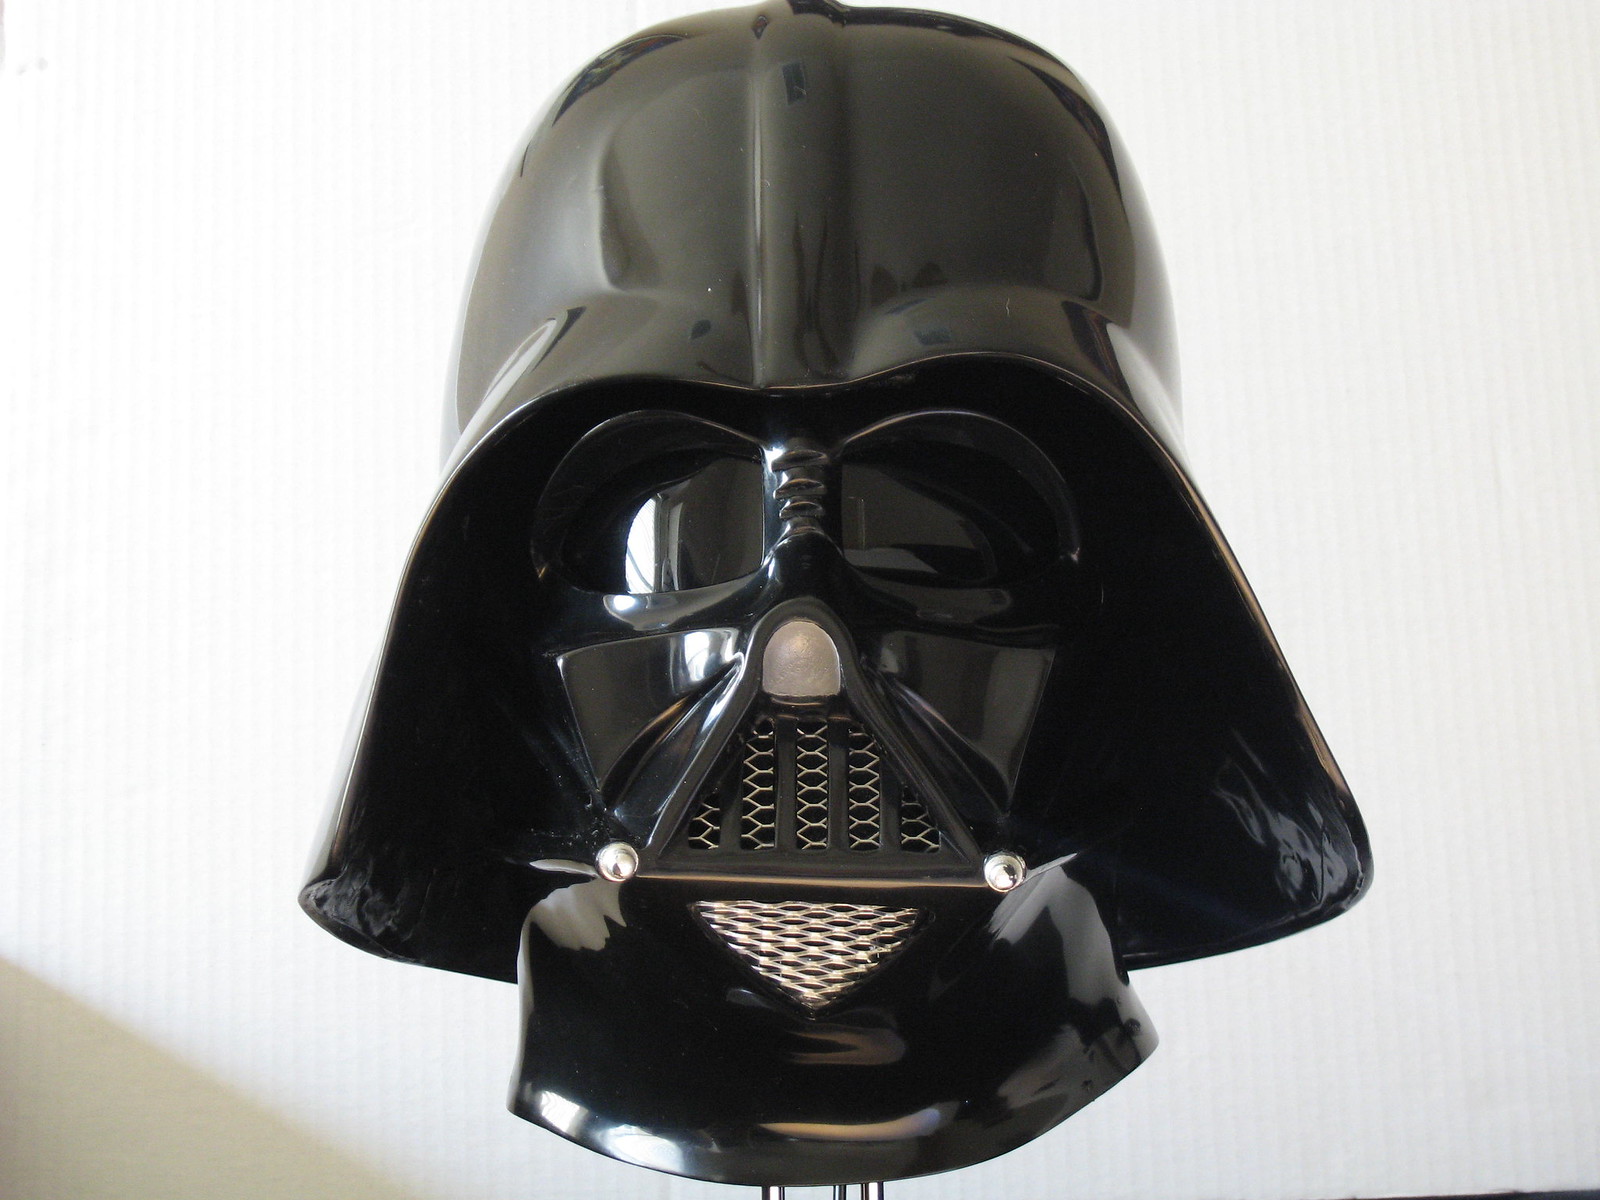
DPCA mask front:
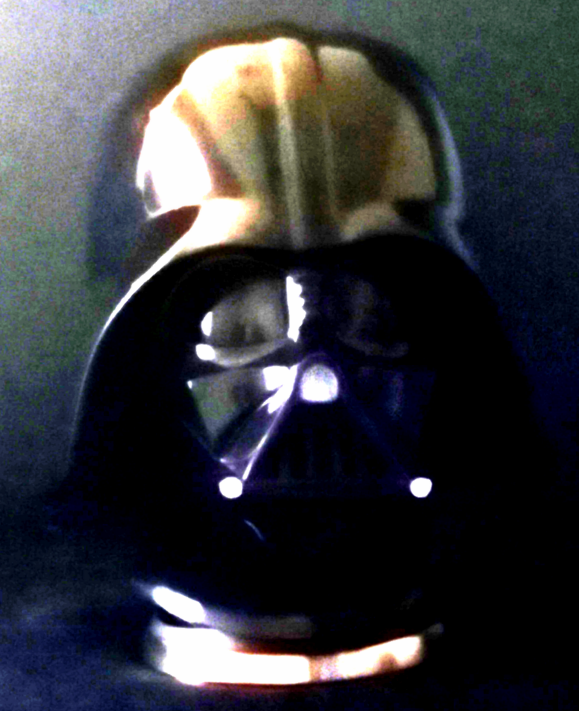
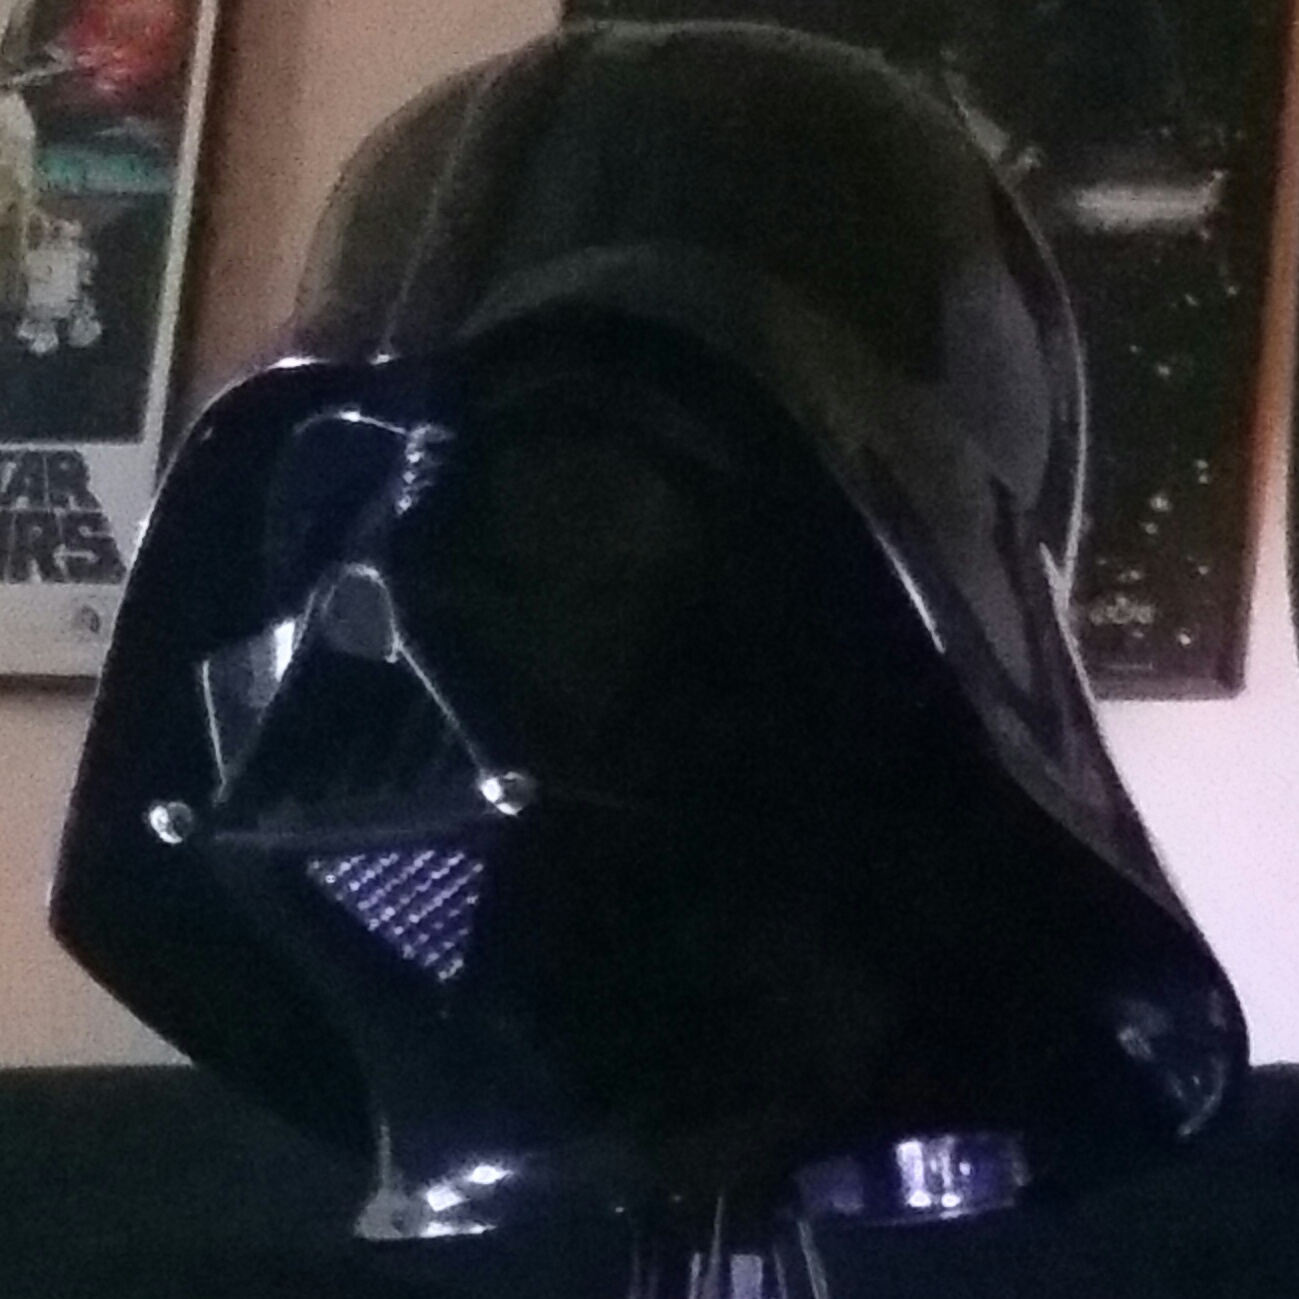
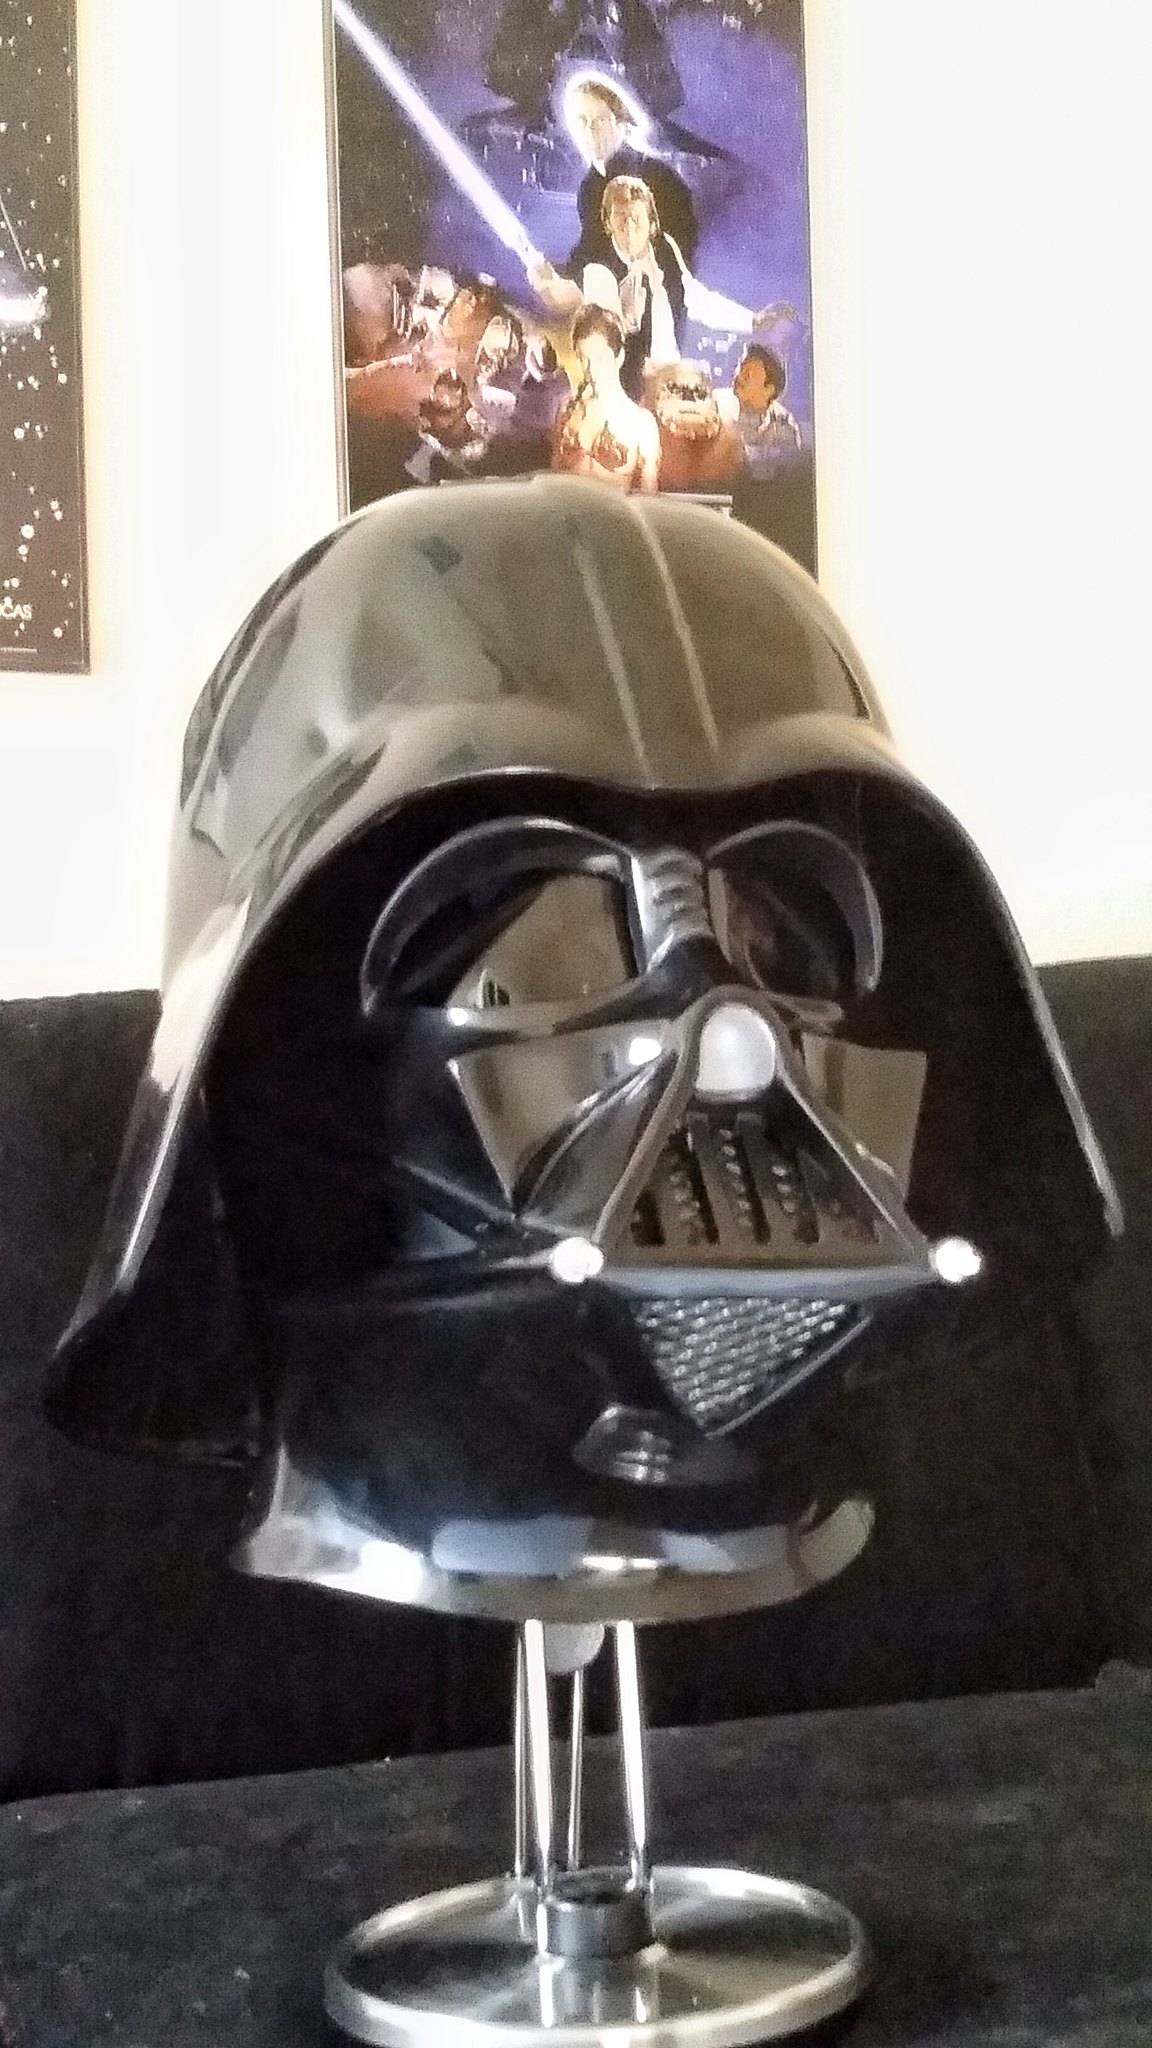
DPCA mask right:
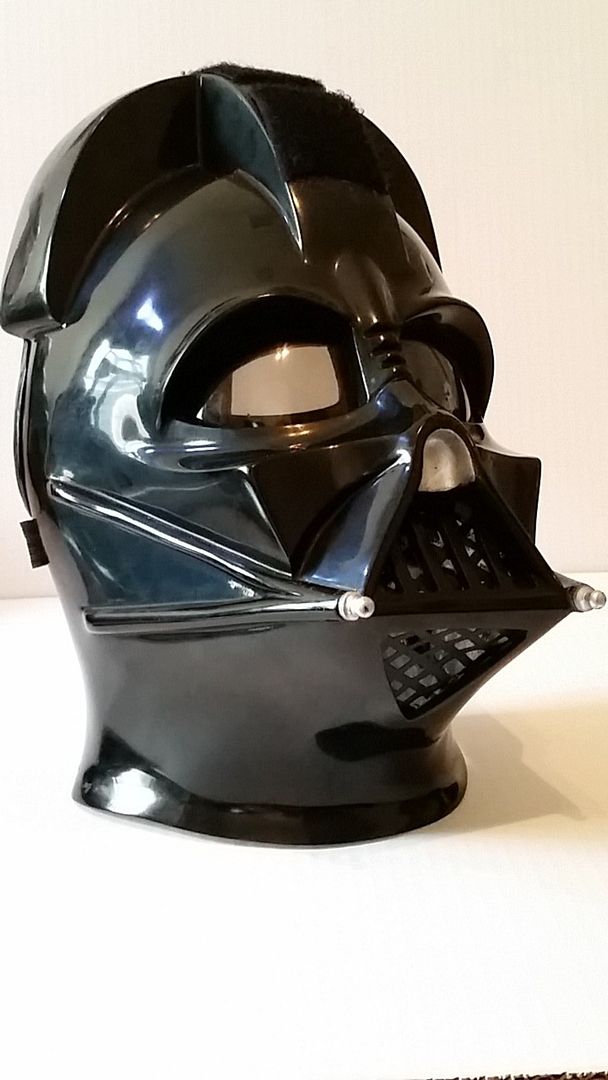
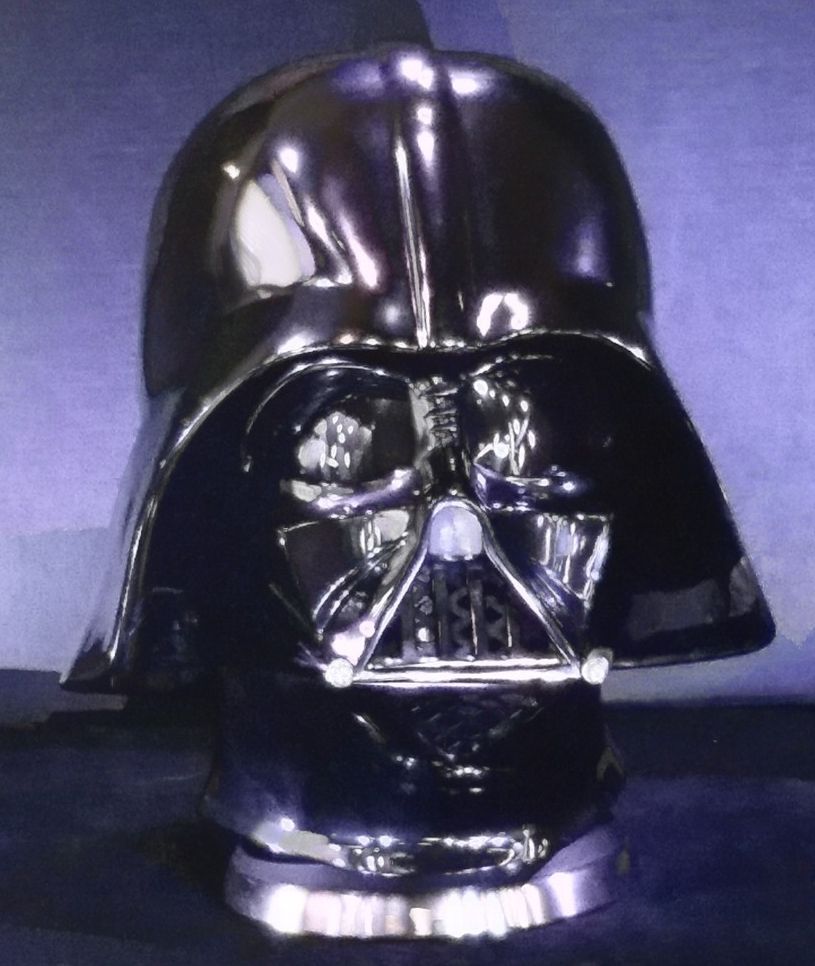
DPCA mask left: