5/5/2009 Update - FOREWORDI had a stock condition Rubie's Vader helmet in a trade, and did a "Chad Vader" display. But the more I looked at it, the more the Modder in me ached to do a modification. I wondered how fun it would be to convert the face into a Don Post Deluxe lookalike - basically to achieve a far more accurate and artistic original trilogy Vader than I had done previously. My previous effort was not bad, but as Luke had said... "But I've learned so much...."
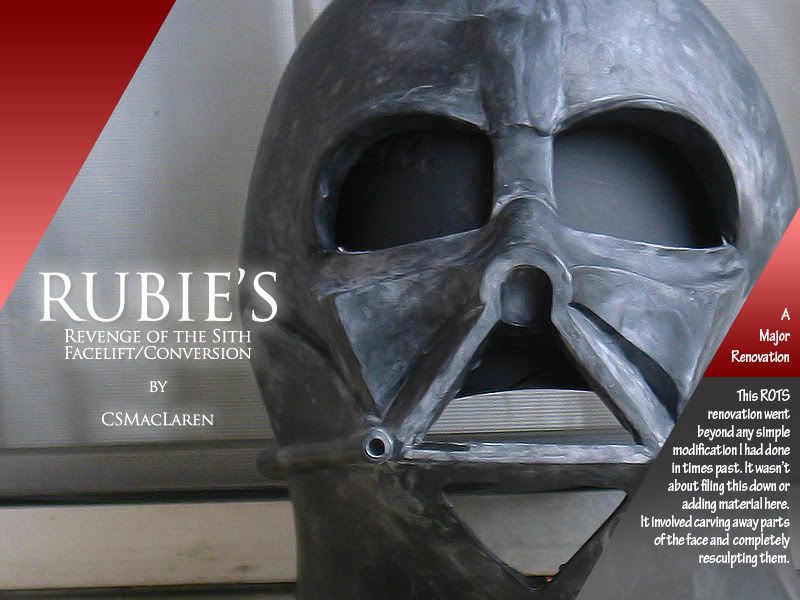
I don't know what possessed me to let the community steer me towards a ROTS conversion as I'm not a ROTS person and am hardly studied up on the nuances of ROTS (which most OT diehards like me don't even bother with). But I admit that, from a craftsmanship standpoint, the ROTS is quite beautiful, and that the challenge of converting the OT style of the Rubie's asymmetrical face into a more almost-fully symmetrical looking ROTS is a technical challenge.

So here is the new title graphic. The rest is older info leading up to the decision to go ROTS with this. - Mac
* * *
THE ORIGINAL POST:
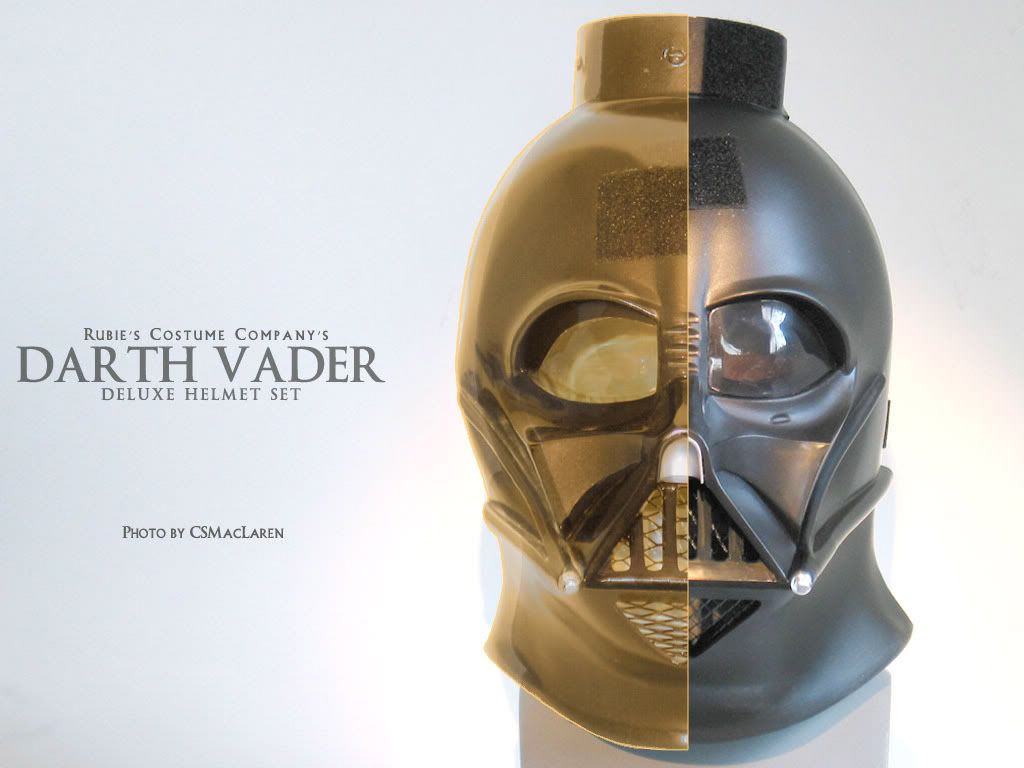
(Above: A Don Post Deluxe (left half overlay in orange) atop a Rubie's Deluxe/Supreme Vader)
So some of you may be aware that my Rubie's modification found a new owner, and in exchange I got an unmodified Rubie's vader helmet so I can do my "Chad Vader" (see YouTube if you don't know what I mean). However, the more I regarded it, the need to modify it started itching with me again. My first modification effort addressed well over a dozen inaccuracies and it still failed to live up to its former shadow, the Don Post Deluxe. For those of you unfamiliar with the relationship, back in the old days, Don Post Studios had obtained a mold of Vader for their "Don Post Deluxe Darth Vader". DPS exists in name today as a subsidiary of another company, and when you see the Don Post Studios brand, it's mostly in latex Halloween masks. Rubie's Costume Company said they obtained the same molds Don Post Studios had once had from Lucasfilm. They produced the Rubie's Fiberglass Limited Edition Darth Vader, which has some significant resemblances to the old Don Post Deluxe (though some differences as well).
The apple fell far from the tree, however, with the Rubie's Deluxe Darth Vader (it's referred to as the "Supreme" as the whole costume set is known as the "Supreme". It's basically the same helmet).
Looking back at my first mod, there are things now that I felt I had done right, and some things that I would never have done. For example, shortening the bottom tusks was a mistake. Most if not all epoxy clays and putties that I've experimented simply won't either weld with the plastic of the Rubie's -- and is often stiffer than the plastic. When the mask flexed, the welds would break, or the epoxy clay would crack. I also did some enhancements without making a proper comparison with the Don Post Deluxe.
Now that I've gotten better with photography, aligning masks and doing overlays, the question becomes: now, knowing what I know, with 2 years' experience of study and of modifications
what is the LEAST amount of work I can do to improve the looks of a Rubie's?
Some of you have already done some Rubie's mods but now you're hoping to make it look more organic and artful. I'm considering these advanced modifications from an artistic point of view from having advanced from studying the Don Post Deluxe for the last 2 years -- something that is three dimensional and right in front of me, providing a valuable experience and perspective I didn't have at the beginning of my previous modification. This is not so much a tutorial, as it's hard to convey nuances and subtleties with words. However, I hope this encourages you and inspires you.
I will also be up front and say that I've seen a rise of Rubie's modifications on eBay where someone made mods to a Rubie's, then recast it in fiberglass and resin, and started generating more sales. I've already seen some of my mods benefit eBay recasters whose products are more difficult to identify than in their stock conditions, and this doesn't help newcomers to the hobby. If you need more details on certain techniques with the intent of making a mask to sell copies, all I would ask is that you help me to help a disabled SW fan as a charity cause, and if you're okay with a portion of the proceeds of your sale can help improve the life of one person, I'd be more than happy to talk to you via PM. If you're a vendor seeking to make his wares more presentable and you don't give a rat's ass about helping someone in the process, then when you die, your soul will not go to Sto-Vo-Kor.
 Heat modifications
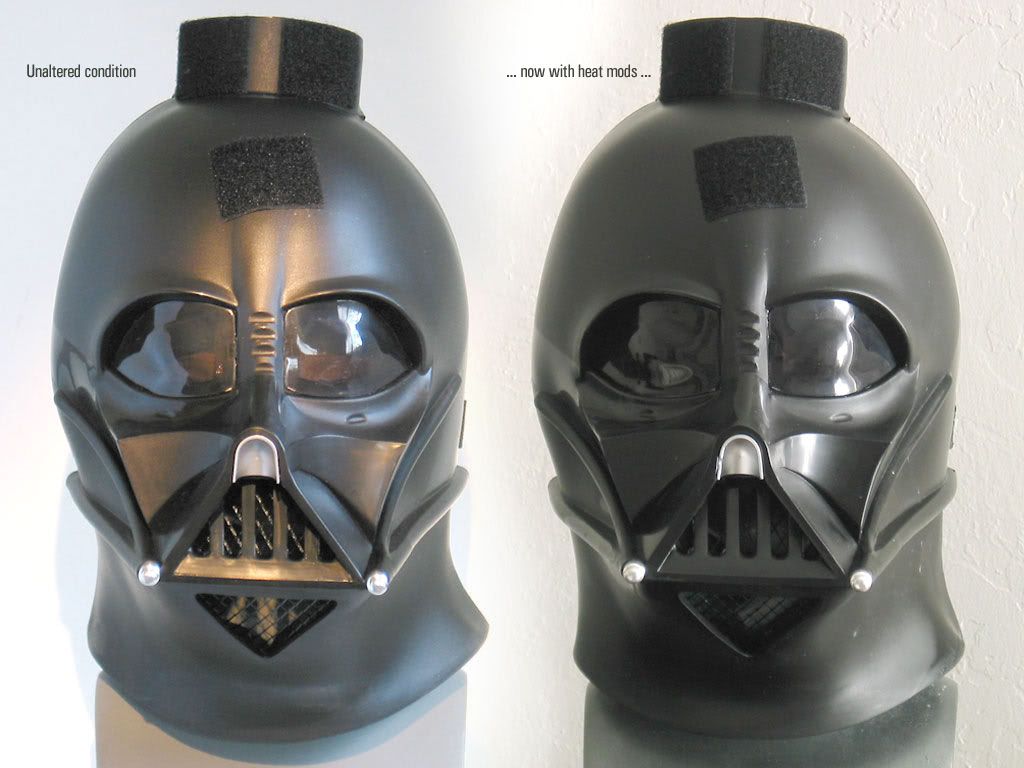
The first thing I've done is to try to not only take the neck in but to address the skull as a whole. This material is stubborn under any kind of heat, and I've already accidentally (again) melted a bit of the neck by having it too close to the heat source. This time around, I've learned that once you heat it enough to bend it, it's best to stand in front of a fan, hold the piece in place, and allow it to cool more slowly than quickly. I used to feel running it under cold water would work. I've gotten better results holding it in place using kitchen or oven gloves while watching TV.
Here you can see subtleties inspired by the VP. I've still have some slight beck flare, but it's more artfully done. The neck does appear wider, but much of this will be under the shadow of the dome. I've also tried to wrap the neck around its widest point and to reduce the size of the rear opening while pulling out the sides. You can see from the lower tubes that the wrap-around curvature has been achieved. The face is still a tad on the narrow side but in pulling the sides out and curving them around more, I hope that I can trust the shadow of the dome interior to mask some of this more.
Each person's mask will be a different shape, I'd imagine. These shots were taken at 6 feet. The changes here are subtle but I feel the Rubie's is now more heroic.
More later....


