|
Have heard that a few have reservations regarding painting their helmets, so I attempted to write a basic paint guide that could possibly lead to a good quality painted replica in the end. I take no responsibility for potential loss of detail... but I based it on years of experimenting with painting scaled figures:
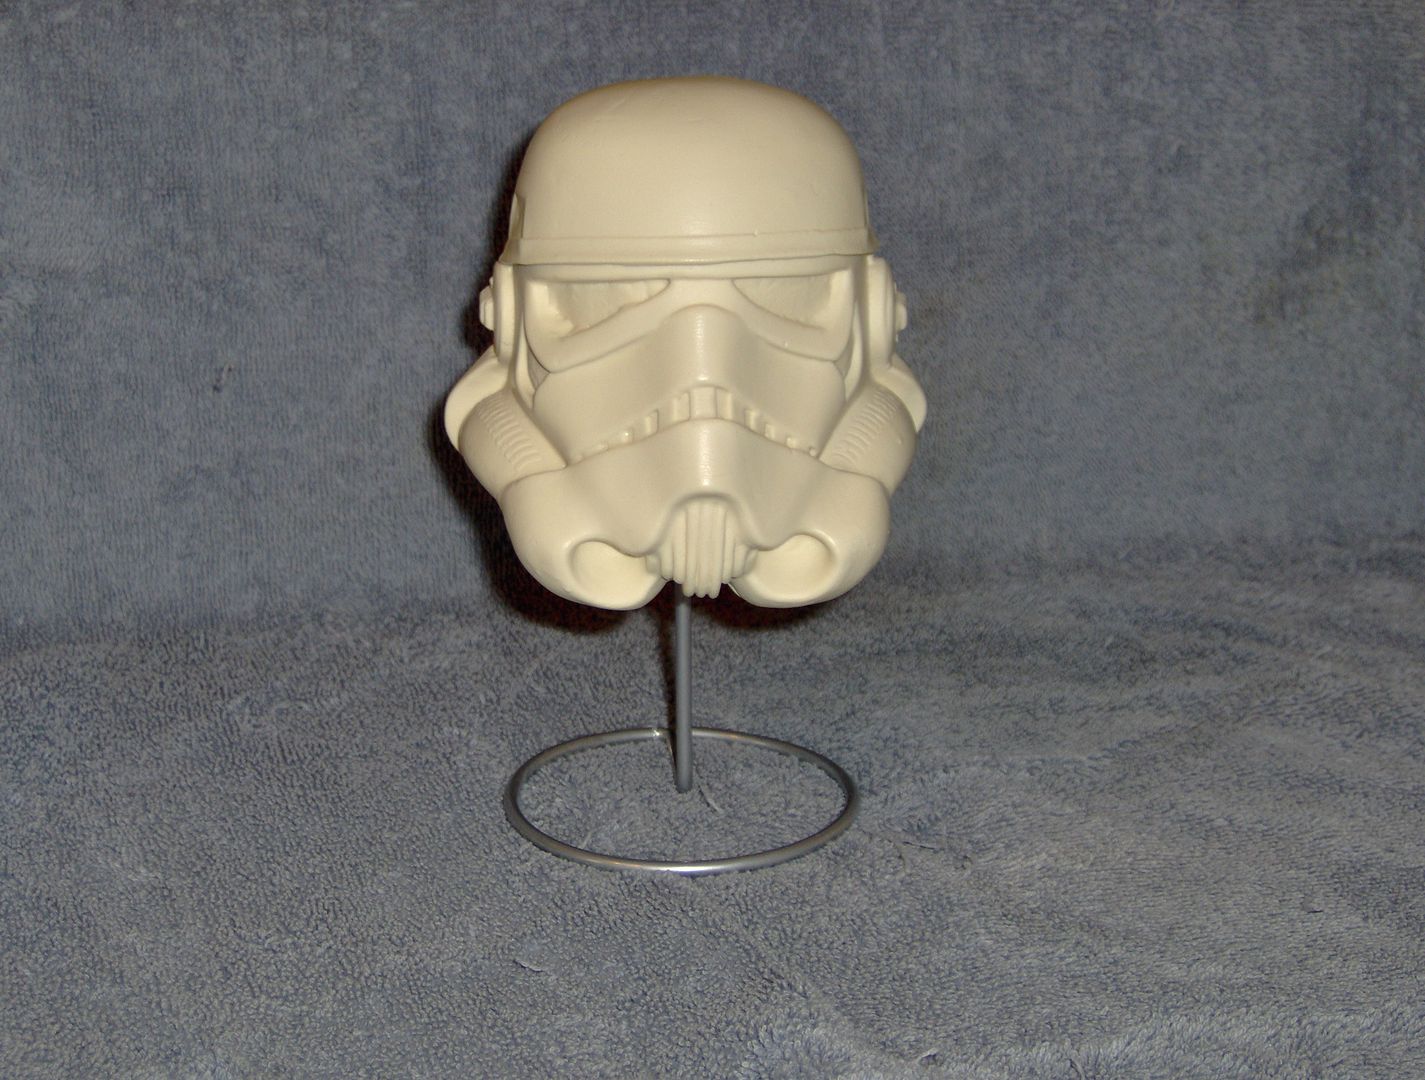
For those who are apprehensive about painting their SFS mini helmets, here are a few tips to how to paint them well and keep most if not all the tiny surface details. The key is not to cover anything, so there are specific ways to accomplish a consistent color application and making it thin enough to allow small surface deviations to show.
The trick is to apply the paint thinly and here are a few ways, depending on whether you want to airbrush the piece or have to paint it by hand with brushes. I will start with the simple airbrush version first – this one can also apply to spray paints, but be VERY careful with those, as they tend to apply the paint way too thick, so really isn’t recommended.
The Simple Air Brush Version – basic white and normal detailing – no HDPE color, etc, showing.
1: Wash the helmet thoroughly with water and dishwashing soap – just the normal kind – to get any residue from the casting and dirt, etc. off the cast. Then let it dry. This step is important, especially with a piece with lots of surface details, where you want to preserve them and only them.
2: Find a good matt white primer. One that covers well, but stays thin. MIST it onto the helmet, as lightly as you can. DO NOT worry about making it cover the helmet in this first go. When misting, you could need a second layer and instead of putting on too much paint in the first layer to get it to cover everything, just mist it once and let it dry before applying a possible second layer.
3: Gloss clearcoat (or semi-gloss if you don’t want it too shiny) the whole helmet. This seals the white and makes it easier to fix mistakes when painting the detailing.
4: Very carefully paint in the black brow – seeing as that is supposed to represent rubber, you could go with regular semi-gloss black – or, if you can find a color that specifically says rubber black, that could be a better choice.
5: Now, regarding the frown, traps and vocoder... it is up to you whether you want to paint the black or the grey first. I really can’t help you there, except to say keep a steady hand and get the best thin brush you can find – DO NOT skimp on the cost as quality matters.
- You could also just use decals.
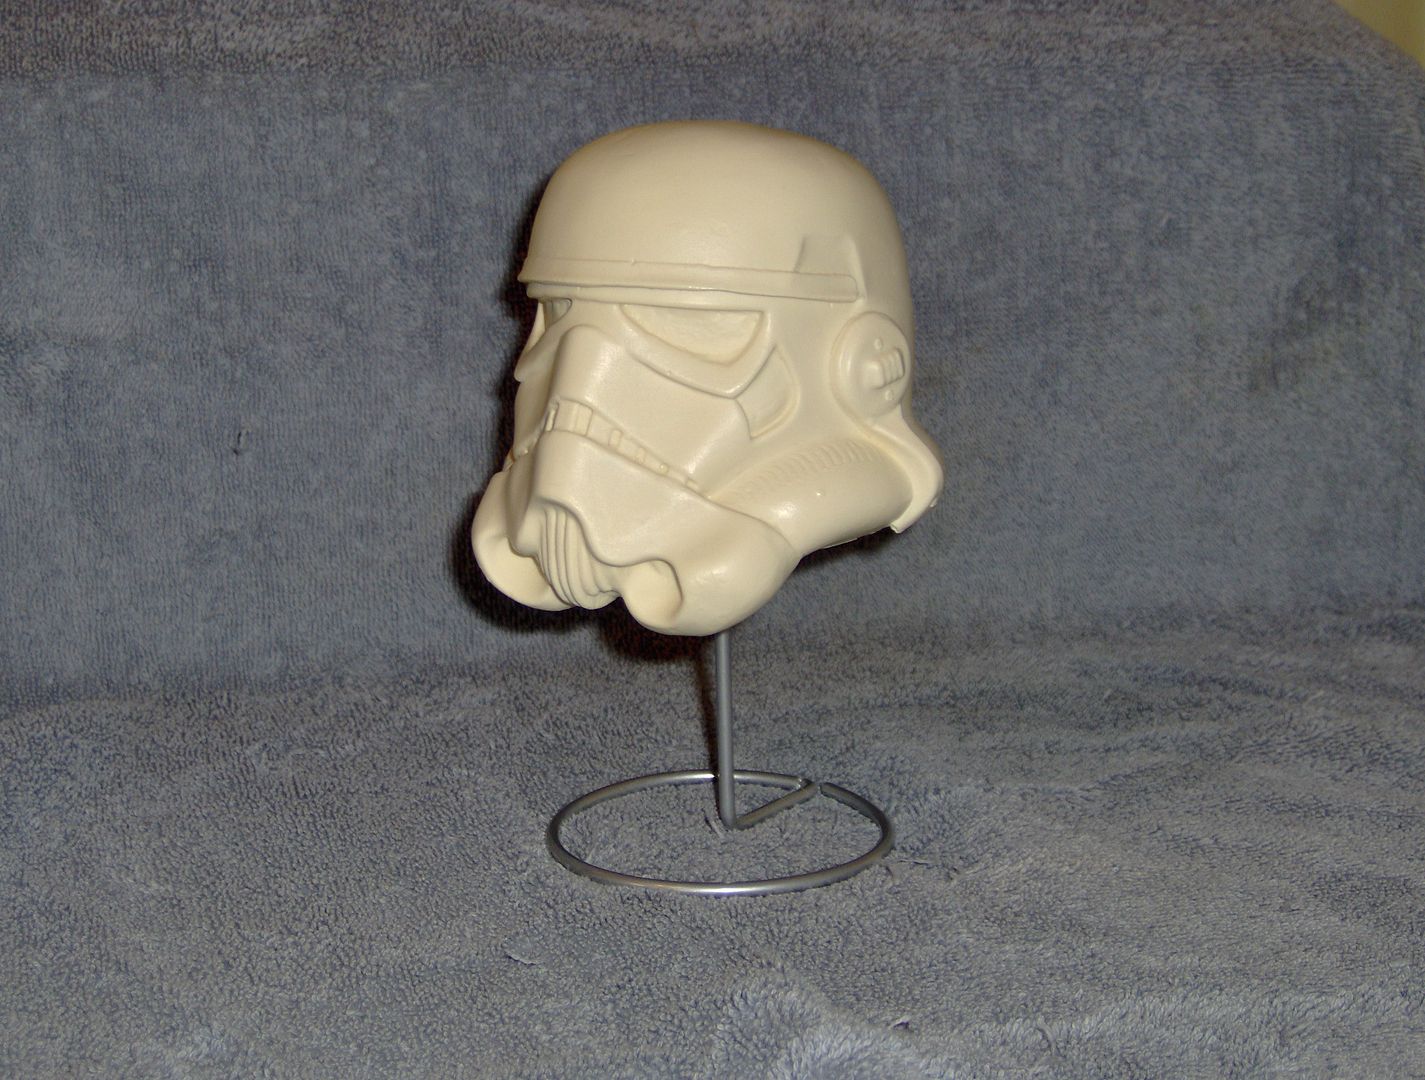
The Advanced Air Brush Version – all detailing showing.
1: same as the before.
2: Depending on the cast, it is uncertain whether primer is needed here, but if you do decide to use it, go for light grey – or possibly even the primer red that was used on the originals. Again... the trick is not to overspray and try to cover the helmet in a consistent layer all at once. Take your time and mist it on, very carefully, and again, don’t worry about the coverage – you just want a thin layer for the other paint to grip on, so less is more.
3: Find the best color representing the lightest version of the HDPE color we know from the authentic found helmets. You are looking for a pale grey/green color. The color, as is, is applied to the back and cap, as that’s how the original SFS is made. You have to mask the face area, as you want to apply as little paint to areas as possible. Then you add a drop or two of black to darken the color a bit. DO NOT overdo it – even though you don’t notice a difference, it will be visible when you paint the face part. Again, mask off the back and cap and ears. Only leave the areas that needs to be painted unmasked. You have to mist on both colors to preserve as much detail as possible.
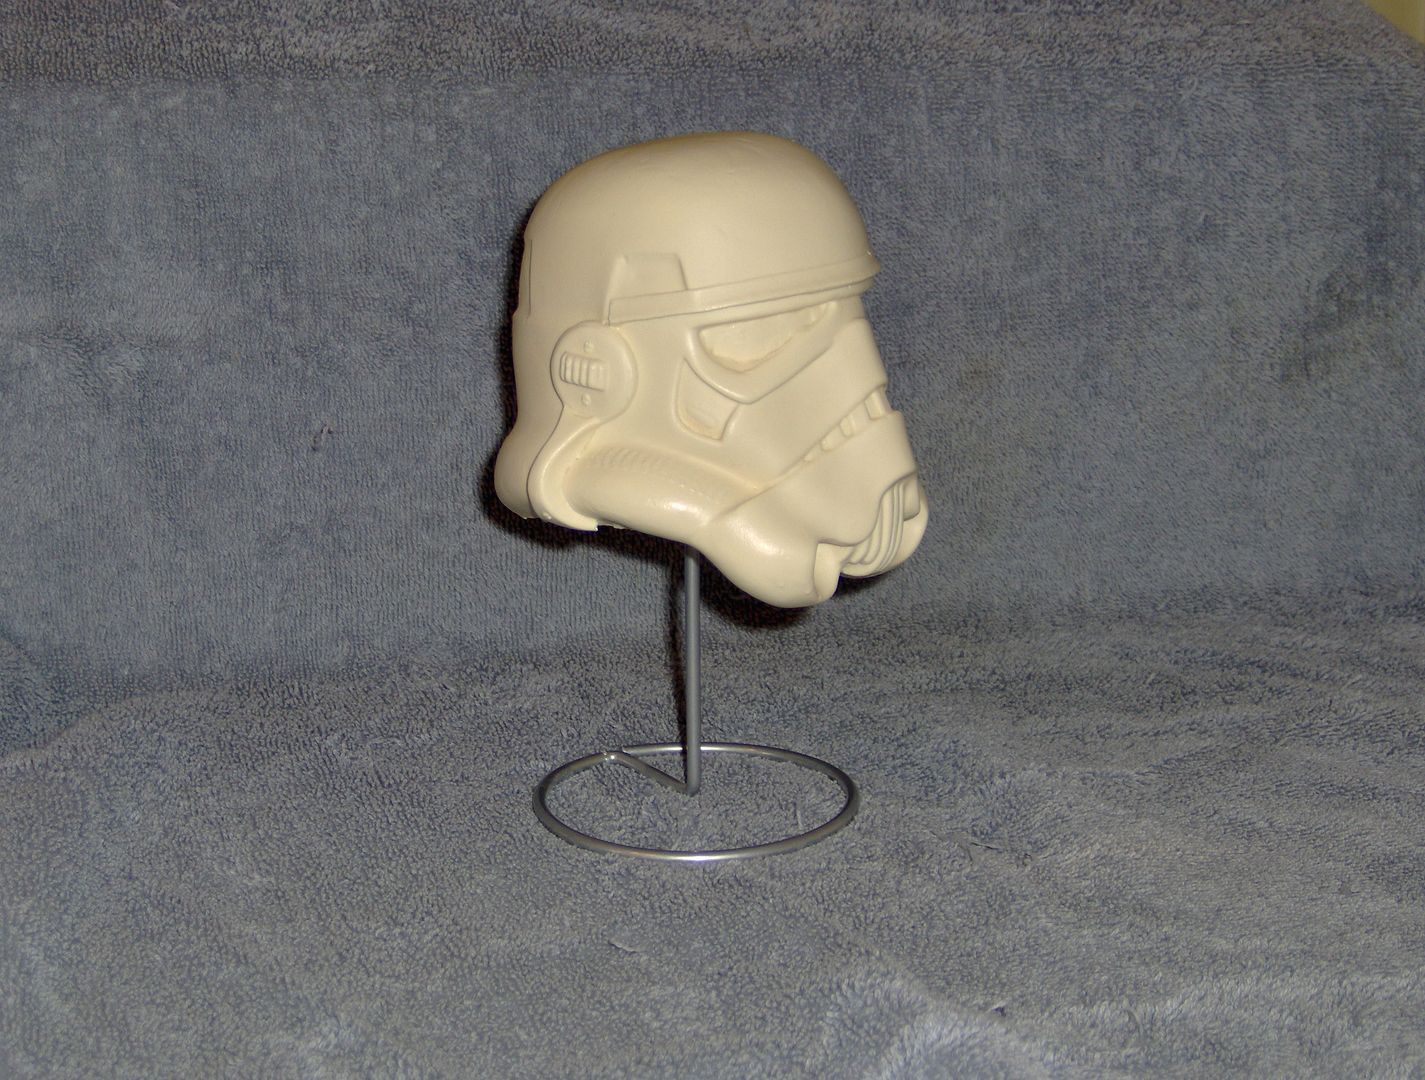
4: This is the bit where you need all the reference you can get of the original SFS helmet, as you want to be accurate. This requires masking fluid and proper brushes to apply it – I would not recommend regular brushes, but instead rubber tipped brushes, as the masking fluid will destroy your fine brushes. Keep a steady hand and try to follow the reference as much as possible, making out what is HDPE color (the areas you want to mask) and what is simply dirt and other scratches. Go about it methodically, as you can easily lose track of where you’ve applied the masking fluid and where it’s still needed. I do not envy you this part, as it will be stressful and time consuming, but will make the end result so much better, if done well and with great care.
5: Then it is time for the application of white. You also need to mask the ears for this part – you may scratch your head now, but bear with me. Basically you can go two ways primer or matt white with clear coat afterwards, or... go full gloss. This should basically be the paint you’d use to paint your full scale helmet. It is still important to mist layers on. Once that has dried you peel off the masking fluid and hopefully it looks awesome... I have faith it will.
6: Paint the brow, traps, vocoder with their respective paints. If you are very skilled, you can mask off and airbrush the colors on. Otherwise, just use a brush.
7: Paint the ears with a paint that is representative of the gloss white ABS.
8: try to replicate as many of the additional scratches and details found on the original helmet, to give it life and make it more authentic. Since this is small scale... you do not want to go extreme with the weathering... just hint at it more than faithfully replicating every single scratch, dent and paint details. Use dark browns instead of black, as the pure black will be too extreme. Keep everything in matt colors.
The Simple and Advanced Version can also be done by brush, but you have to apply the paint in very thin layers, almost like drybrushing, as you really want to keep the paint from building up in the details and recesses. Patience is required and depending on the method used you can accomplish a very fine scaled replica that will preserve the coolness of the printed details from the original full sized helmet.
_________________
Check us out at Facebook!
http://www.facebook.com/ThePropDen
|